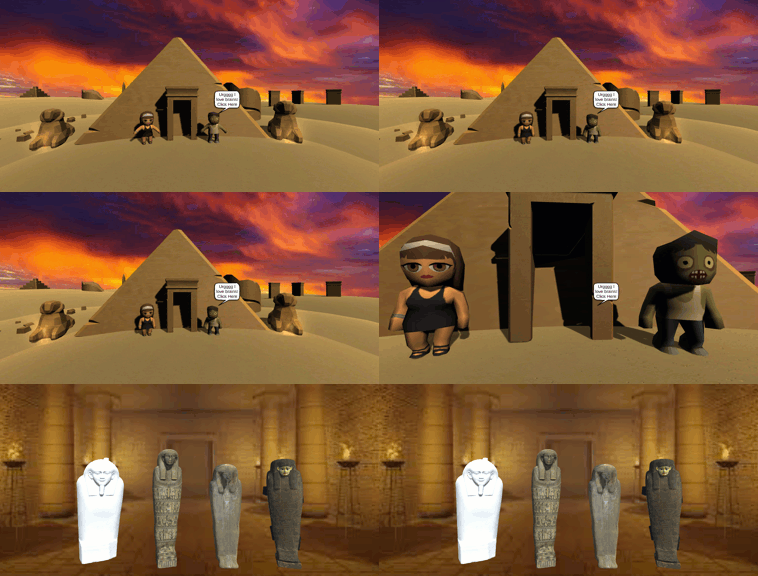
Getting started with Unity Scene Transitioning Part 1
A minimal scene loader with Unity 6 documentation notes, followed by the original illustrated tomb scene, animation and UI walkthrough.
← All articles
Loading a second scene in Unity
A scene transition needs a destination included in the build and an action that loads it. The example below uses a UI button and SceneManager.LoadSceneAsync. A tag is optional; it is only needed if your own interaction code uses tags to identify a clicked object.
Version context: the illustrated tomb walkthrough was created in 2019. The scene-loading notes below were reviewed against the Unity 6.0 documentation on 16 September 2026; the older screenshots and third-party asset packages have not been retested in that editor version.
1. Include both scenes in the build
Save outsideTomb and insideTomb as separate scenes. In Unity 6, open File > Build Profiles > Platforms > Scene List and include both scenes in the active profile's scene list. Older editors use File > Build Settings > Scenes In Build. Use the exact saved scene name, or its full asset path if names are duplicated. See Unity's scene-list documentation.
2. Connect a button to the loader
Create SceneTransition.cs, attach it to an object in outsideTomb, and set Destination to insideTomb. Add a UI Button, then add the object to the Button's On Click list and select SceneTransition.LoadDestination. The Canvas also needs an EventSystem configured for the project's input setup.
using System.Collections;
using UnityEngine;
using UnityEngine.SceneManagement;

public class SceneTransition : MonoBehaviour
{
    [SerializeField] private string destination = "insideTomb";
    private bool loading;

    public void LoadDestination()
    {
        if (loading) return;
        if (!Application.CanStreamedLevelBeLoaded(destination))
        {
            Debug.LogError($"Scene is missing from the build: {destination}");
            return;
        }
        loading = true;
        StartCoroutine(Load());
    }

    private IEnumerator Load()
    {
        yield return SceneManager.LoadSceneAsync(destination, LoadSceneMode.Single);
    }
}
This replaces the current scene when loading completes. Put a separate loader in the destination scene if you need a return button. For a clickable 3D character, the interaction handler can call the same public method. Unity's LoadSceneAsync reference describes the loading modes and operation it returns.
3. Check the transition in a player build
- Confirm both scenes are included for the active build profile.
- Match the destination name exactly and use a path if scene names are ambiguous.
- Keep the Button's target object active and check the Console for errors.
- Test repeated clicks, loading time and the return journey on the target device.
- Decide which state needs to survive the transition. This minimal example does not preserve player progress, add a fade or show loading progress.
The original tomb scene walkthrough
The following screenshots show how the environment, animations and UI were assembled for the original demonstration. Asset availability and editor menu labels may differ in a newer project.
Even the simplest unity project can be intimidating to a beginner. Let’s take a look at transitioning between 2 scenes in this article. If you'd rather start with gameplay logic than scene setup, see Getting Started with AI or Getting Started with Physics in Unity instead, or talk to us about Unity development if you'd rather have it built for you.
The outputs I wanted and my goals were to have more than one scene, and via an input action zoom and change to the other scenes. After accessing the second scene, there should be interactable game objects with pop ups when clicked on.
Unity Project Setup
Create a new Unity 3D project
Create 2 scene’s, an outsideTomb scene and an insidetomb scene
Download the free assets from the asset store for environment and characters. I used _DesertKits64_Sample for the scenery and Toony Tiny People for the characters
Download the fire particle system package, I used PyroParticles from the asset store
Download some ambient desert SFX, and a sinister SFX for inside the Tomb. I used Freesound.org to get all my audio. Import the png’s and update the settings in the inspector: under Texture Type, set to Sprite (2D and UI), click on Apply
Build out a 3D scene for the outsideTomb environment as you want
The assets that you have downloaded and imported can just be dragged and dropped into the scene. You can move them around and stylize as you want, have fun here!!
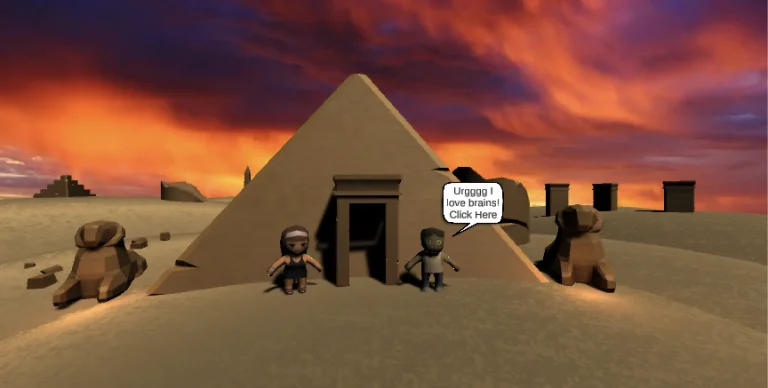
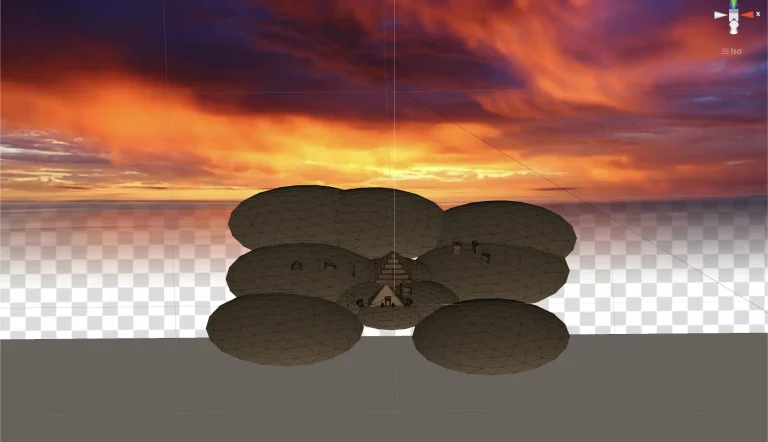
Outside Tomb Scene
Organising your project
My OCD for neatness kicks in here, I like having everything related to each other in their separate folders.
This is how I ordered it:
- Create 4 empty game objects and reset the inspector values
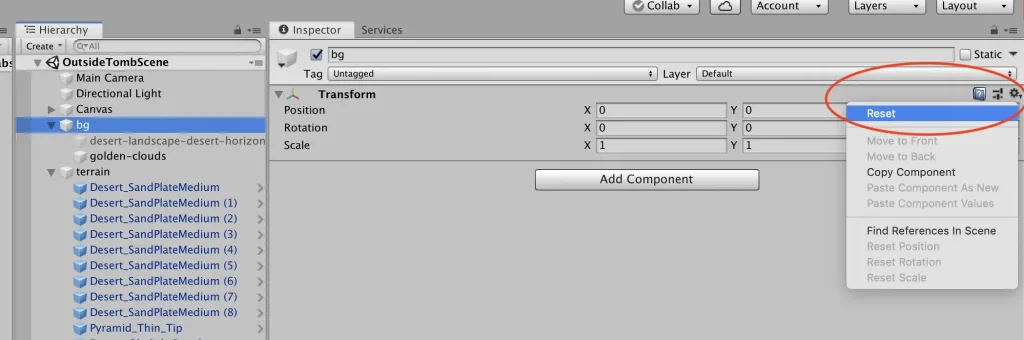
- These will be the parent Folders to keep the Hierarchy view neat and tidy
- Rename each game object to: bg, terrain, characters, particle systems
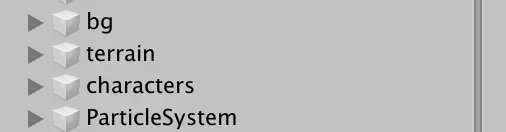
- Move the 2D background png into the bg folder. I have 2 different backgrounds to choose from so that I can swap between them. If I wanted a sunset background or a day desert scene then I can just enable and disable the image game object to whichever one I want.
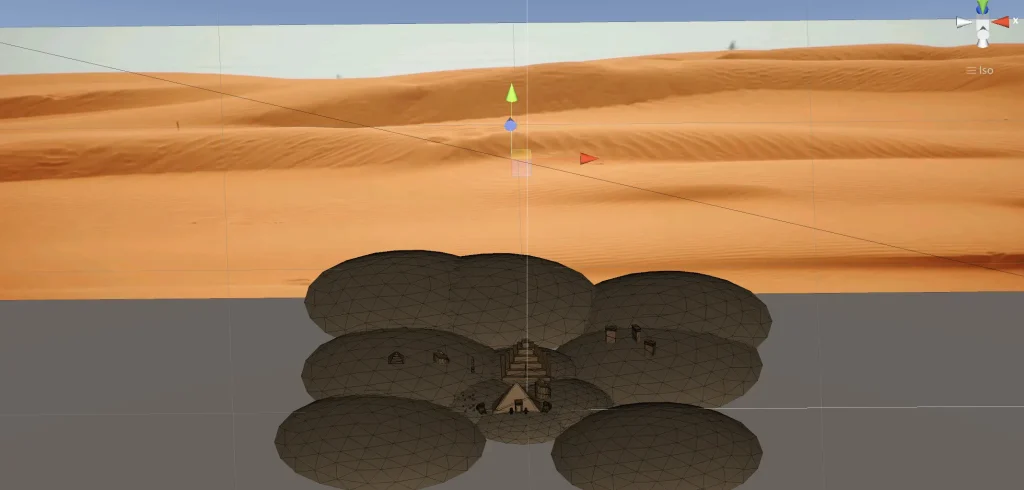
- Move all 3D game objects into the terrain folder. This would be anything relating to the scenery
- Move the characters into the characters folder
- Move the particle prefabs into the Particle system folder
Now that my OCD is taken care of I feel i need some ambient audio in my demo
- Create a new blank game object and reset the values as mentioned above
- Rename the game object to AudioSource
- On this game object click on Add Component
- Type out Audio Source and click add
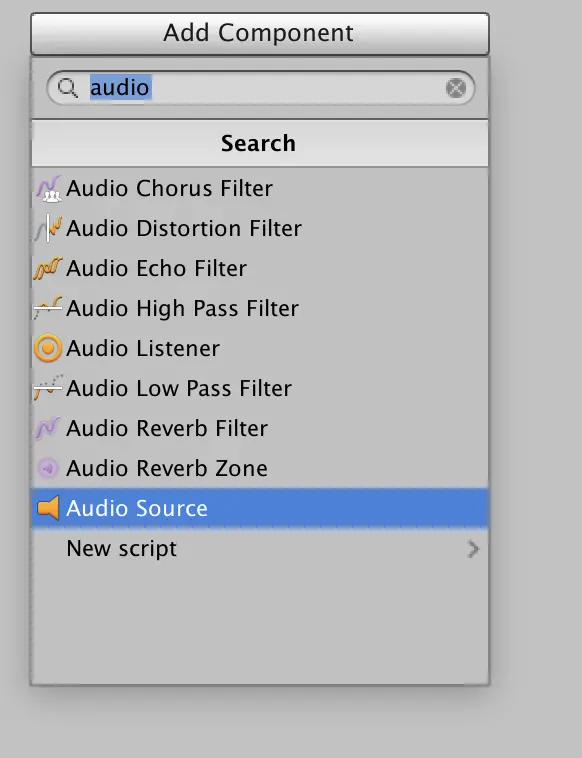
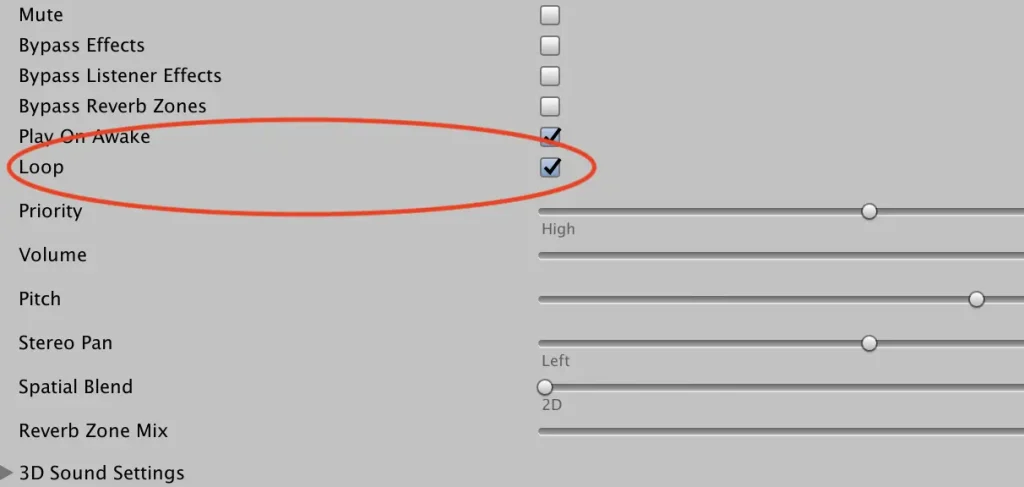
- I want my SFX to loop as the audio is ambient
- Tick the loop option and make sure Play on Awake is also ticked (but this should be set as default)
Let’s decide now what game object in the “outdoor scene” is going to be our trigger to transition into the “indoor scene”. I have chosen my zombie character to be the one to be clicked on.
Our script will be coded to find a game object tagged as “Clickable” to know that this is the input object.
I need to add the zombie character’s tag in the following manner:
- Click on your character
- In the inspector, click on the drop-down arrow by Tag
- Click on Add Tag
- Click on the plus sign
- Type in the name “Clickable”
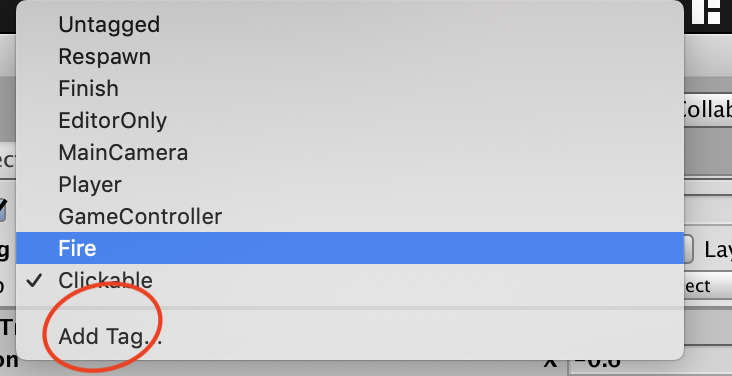
- Go back to your character game object
- Click on the drop down next to the heading tag
- Select the option that says “Clickable”
You have now retagged your Game Object. It is very important to note that in the code when you specify which object the ray collides with, that the spelling has to be identical to what you have tagged your object to, so look for spelling mistakes, lower cases , upper cases etc.
Last but most important of all, I create a new empty game object called GameController:

Before scripting
There are a few actions we can do before any scripting is needed, for example,
* I want my characters to be animated,
* I need to create a Canvas for my UI interaction,
* and setup my particle system (fire).
Let’s get started with animating our characters.
Animation
The designer of the characters I am using gave some awesome animations to go with the assets. They are not attached by default and I will need to set them up.
- Create a new folder in the project view called animations
- With the newly created folder selected, click on Assets
- Click on create
- Click on Animation Controller
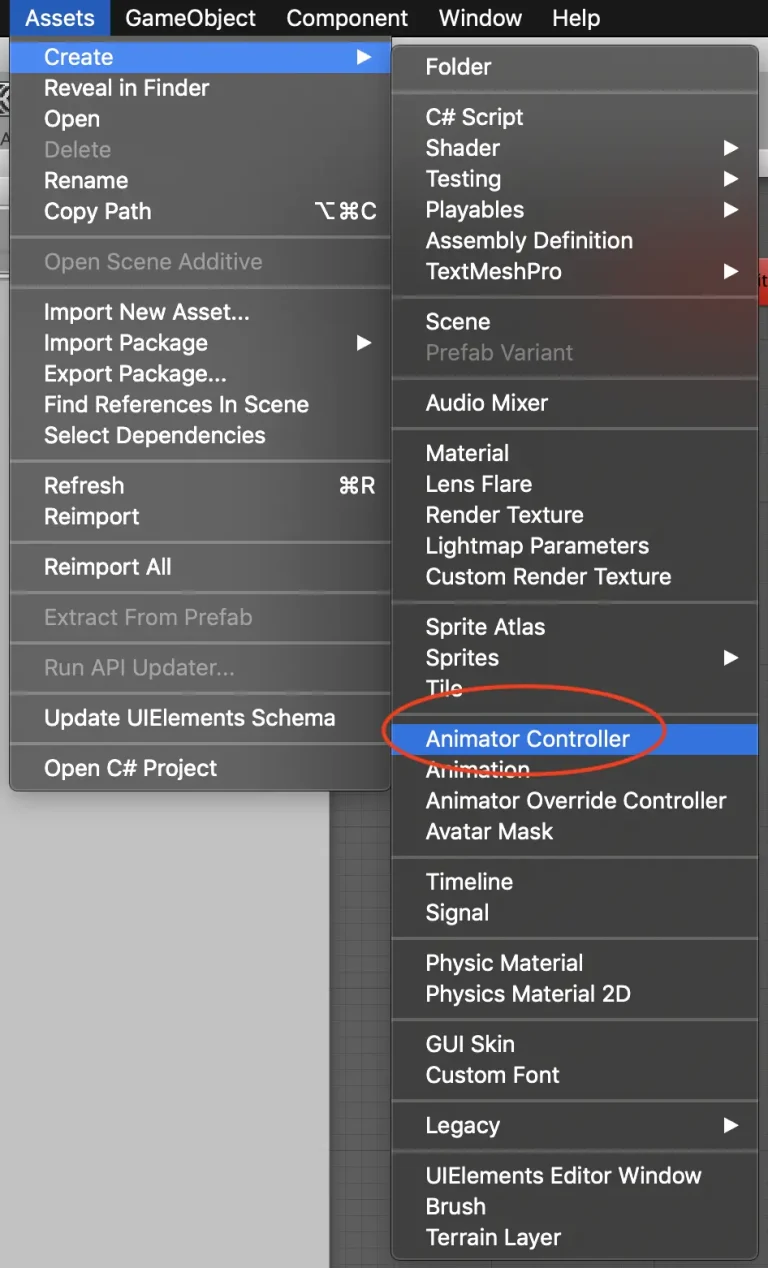
- Name it to what the animation is, in my case I will only be using the idle animation provided. So for the zombies idle animation controller I rename it to z_IdleController
- Double click on the newly created animation controller. This will change the view to the Animator window
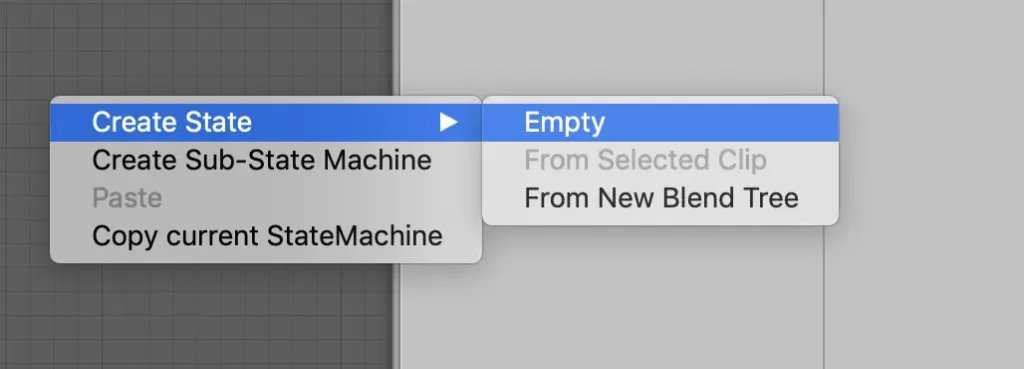
- Right click on the grid area in Animator
- Click on create state
- Click on empty
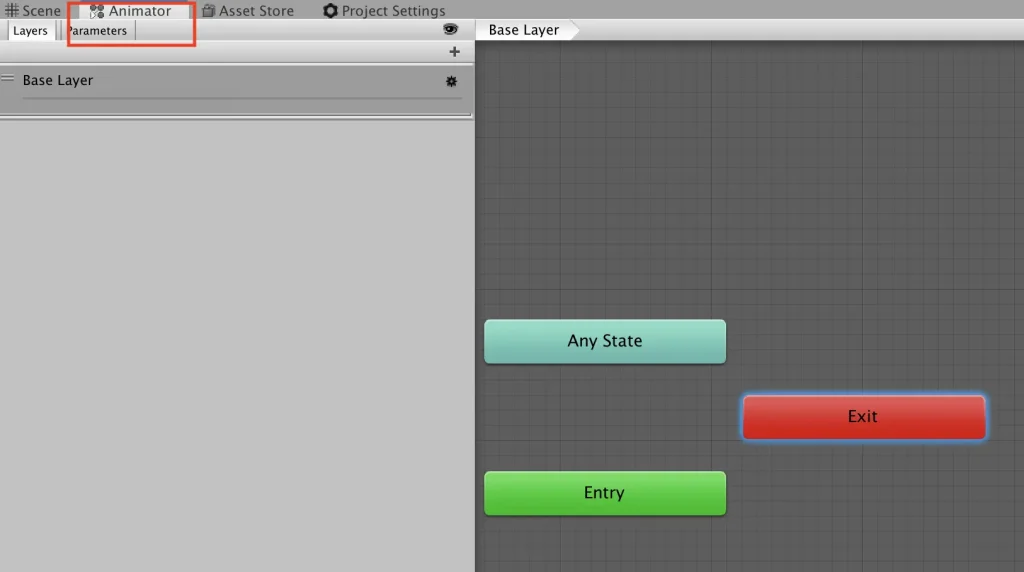
- This will create a new animation state and will automatically create a transition link between entry and your new state
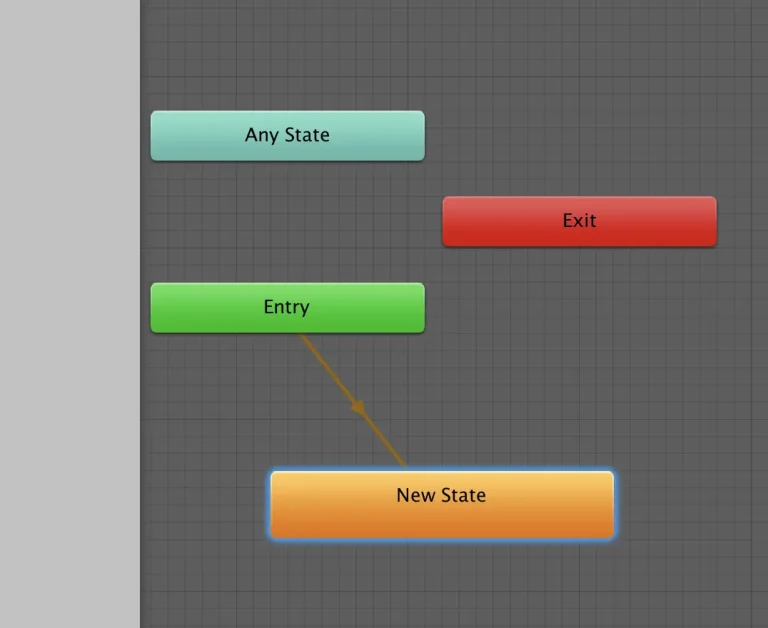
- Click on the state called New State
- In the inspector view, change the name from New State to the animation name IE, z_Idle
- Click the “clock” next to motion
- Here will be a list of animations that came with this package
- Double click z_idle_A (or m_idle or f_idle, depends on what characters you choose)
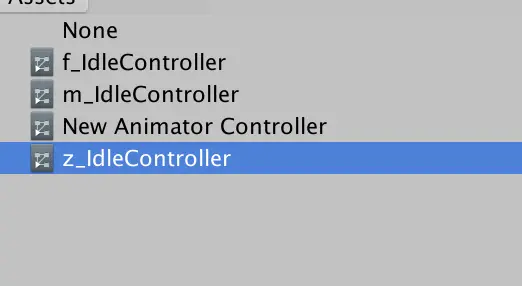
- Click on the Zombie character game object
- Click on the clock next to Controller under the Animator component
- If you don't see the Animator component on your character game object
- Click on Add component
- Type in Animator
- Click enter to add the component
- Select the newly created animator controller from the list
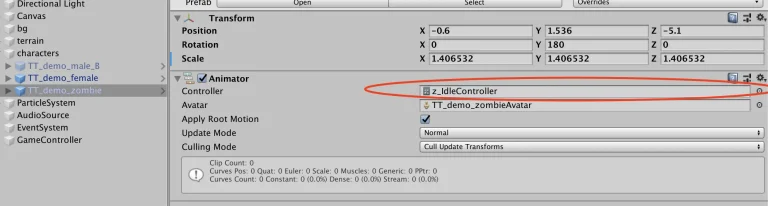
The idle animation is now all set, click on play and give it a test
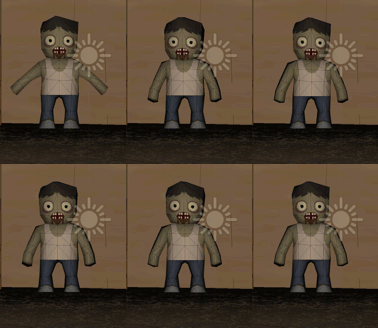
I feel my zombie’s idle is too slow, so I want to speed it up a bit
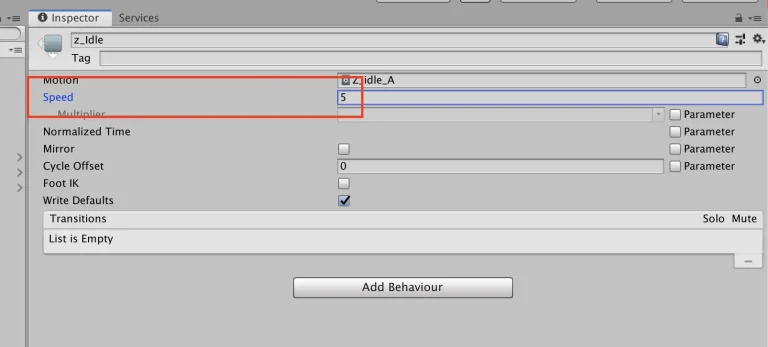
- Go back to you z_IdleController in your animation folder and double click it
- In the animator view, click on the state called z_idle
- Change the speed value to 5 in the inspector
Let’s play it again
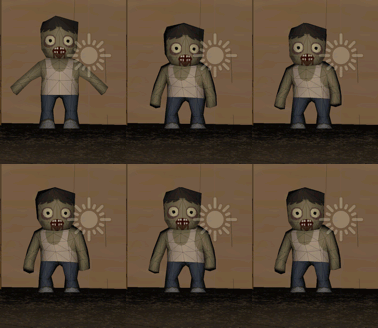
Perfect, let’s move on!
You will do the same to setup your other characters with animations too, it’s a rinse and repeat method!
This package has several animations to choose from, so add a few more characters and have fun with these animations
Particle System Objects
The particle package I downloaded from the asset store has preset prefabs.
- Drag in the prefabs of the various fire objects you would like in your scene.
I chose the campfire objects and placed them before my statues to give the demo some mystery and depth.

That’s it for particle system! All the work was done for us with these prefabs
Thank you Mr Fire particle system effects creator!!
Creating the UI
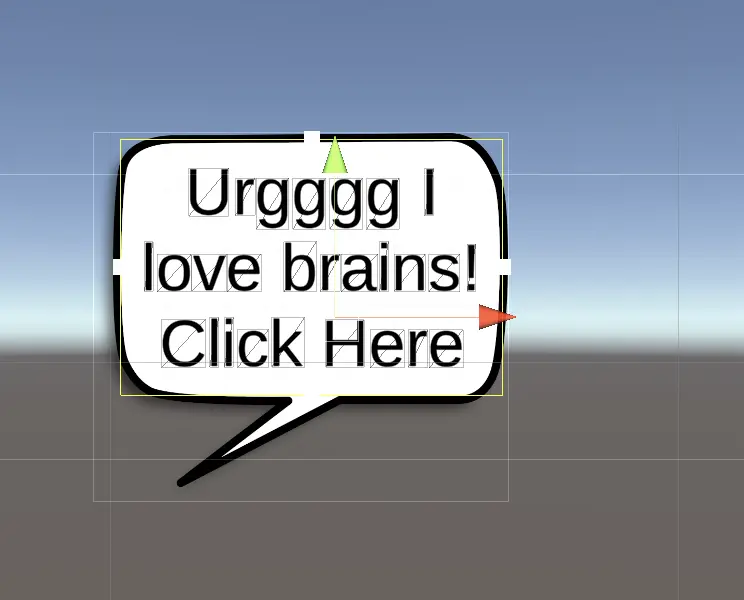
I am using the canvas system for my popup bubble and for the text that is being displayed above my Zombie.
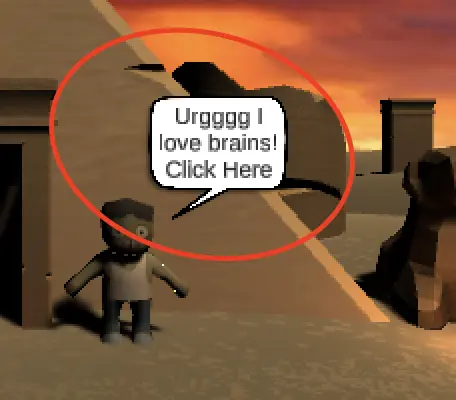
- Right click in the hierarchy area
- Click on UI
- Click on Image
This will create a Canvas that is displayed over my 3D World that has a new 2D sprite image as a child - Click on the new image game object under canvas
- Rename it to something that makes sense to you, mine is called img_speechBubble
- Drag your speech bubble 2D sprite into the source image area, if it doesn’t want to drop into the image area double check that you have updated the sprite texture type as previously mentioned to Sprite (2D and UI)
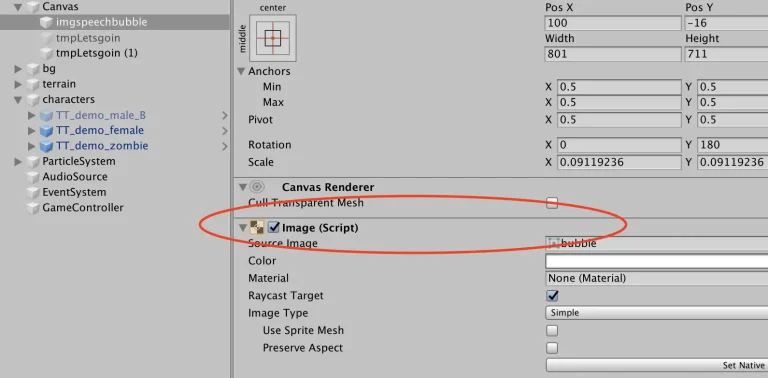
- Click on Set Native Size
- Rescale the image as, and how you would prefer
Let's now add the text to the speech bubble
- Right click on the canvas
- Click on UI
- Click on text
- Resize the font to fit in the bubble and the position so its over the speech bubble
Audio
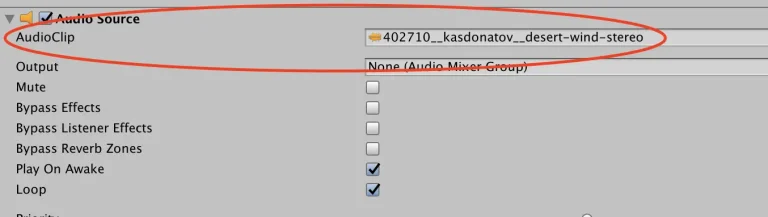
Remember the audio source game object we created earlier ? This is where we will now link our ambient desert sfx that will loop
- Click on the audio source game object
- Drag your SFX to the Audioclip section
- Double check that Loop and Play on Awake is ticked, but it should be as we set it up earlier.
- Click on play and see your work in action with no coding! In the famous words of Mr Bean, “Magicccccc.”
- Make sure you hear your ambient background SFX.